
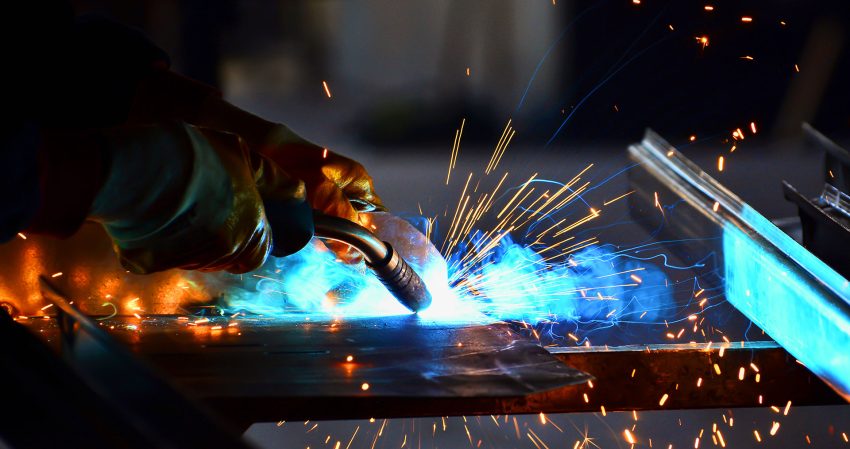
Torch brazing often gets misunderstood. Many welders assume it behaves like traditional welding because both processes use heat and a torch. That assumption leads to mistakes. While welding melts the base metal, brazing relies on a completely different principle. Capillary action. Understanding that a single concept changes everything about how the torch is handled, how heat is applied, and how filler metal behaves. Once that shift happens, brazing becomes far more controlled and far more effective.
Brazing Is Not Welding
In welding, strength comes from fusion and often from the size of the weld bead or fillet. In brazing, strength comes from what happens inside the joint, not on the surface. The filler metal flows into a tight gap between two surfaces. Heat draws it inward. The joint fills from within.
That means appearance can be misleading. A large fillet does not mean a stronger brazed joint. In fact, it usually signals poor technique.
What Makes a Proper Brazed Joint
A well-executed brazed joint has a very specific look and behavior. The external appearance should be subtle. Clean. Controlled.
You are looking for:
- A Small, Concave Meniscus at the Joint Edge
- Minimal Filler Metal Visible on the Surface
- No Excessive Buildup or “Cap” on the Joint
That small concave edge is not decoration. It is simply evidence that the filler metal has traveled through the joint properly. The real work happens inside the capillary space.
Torch Setup and Flame Control
One of the most important differences between welding and brazing lies in flame adjustment. Many welders aim for a neutral flame out of habit. In brazing, that approach creates problems. A slightly reducing, or carburizing, flame is preferred.
Torch settings tend to drift during use. If the flame starts neutral, it can easily shift into an oxidizing condition. That introduces unwanted reactions at the joint and can degrade the brazing process. Starting slightly fuel-rich provides a buffer. Even if the flame shifts, it stays within a safer operating range.
Heat Application: Broad, Not Focused
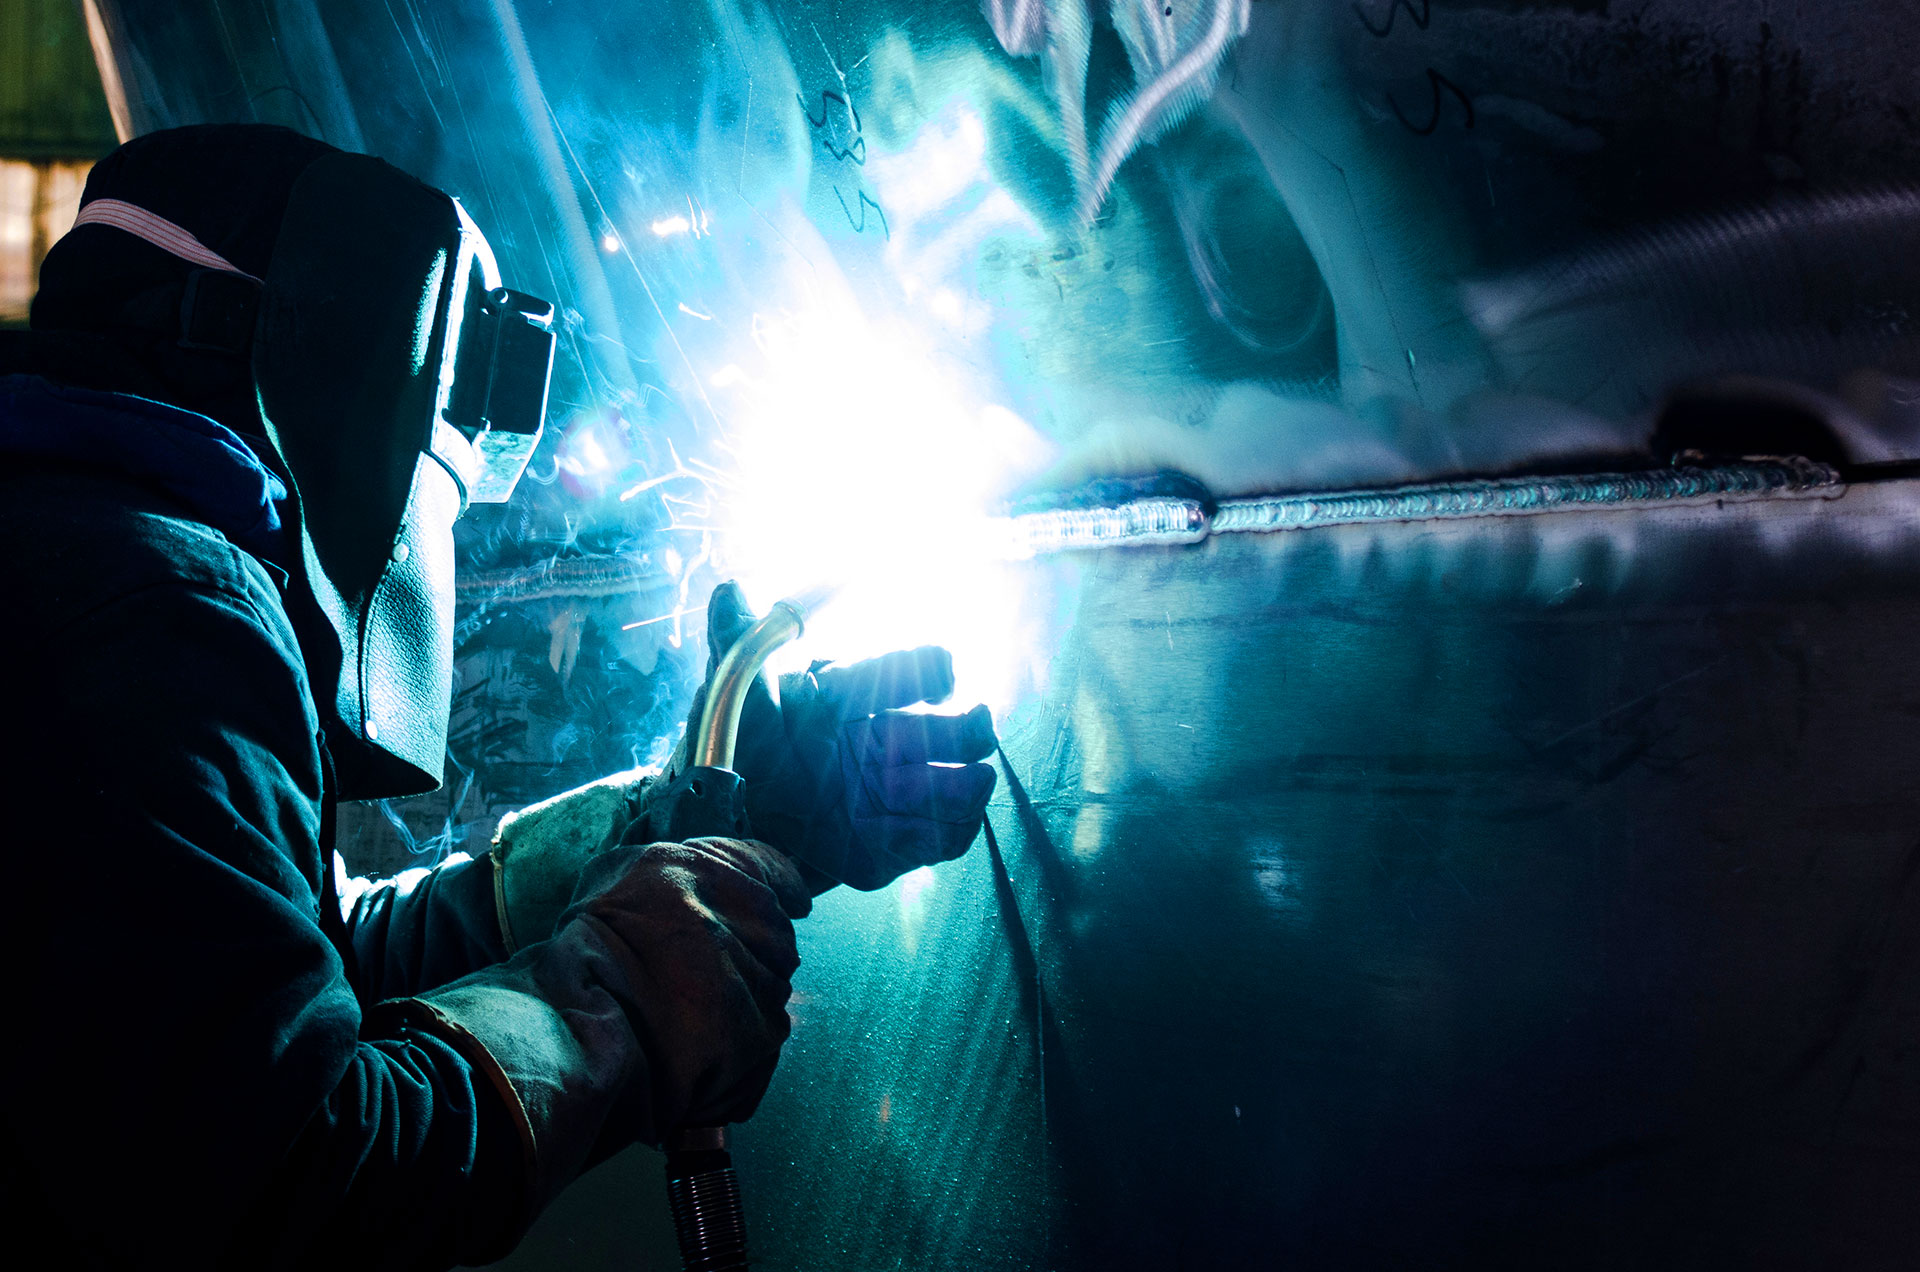
Welders are trained to focus heat directly into the joint. Brazing requires a different mindset. The flame should not be concentrated tightly at one point. Instead, it should be held several inches away and allowed to wrap around the joint. This creates even heating across the entire area.
The goal is to heat the base metal, not the filler metal. A broad, controlled heat pattern ensures that the capillary path is ready to draw in the molten filler metal.
Never Melt the Filler Metal Directly
This is one of the most common mistakes. The filler metal should never be melted by the flame itself. It should melt only from the heat stored in the base metal. When that happens, the filler flows naturally into the joint. If the flame melts the filler directly, control is lost. The material may sit on the surface instead of flowing inside.
Heat the joint. Let the joint do the work.
Controlling Filler Metal Flow
Filler metal follows heat. This behavior can be used to guide the brazing process.
As the torch moves along the joint, the filler metal will follow the heat path internally. Feeding the filler from one end while heating ahead of it encourages a smooth, continuous flow through the joint. A clear sign of proper flow is the appearance of filler metal at the opposite end. This indicates full penetration through the capillary space.
Technique Matters More Than Strength
Torch movement during brazing often feels unfamiliar to welders. Instead of pulling inward, arm positioning should open outward to allow heat to spread across the joint evenly. Small adjustments in movement can make a noticeable difference.
Strong brazing technique depends on:
- Steady, Even Heat Distribution
- Controlled Filler Feeding From One Direction
- Consistent Torch Distance From the Joint
These habits build repeatability.
Verifying the Joint
In some assemblies, the end of the joint is hidden and cannot be seen. In these cases, verification requires testing. Cutting open a sample joint allows inspection of filler distribution. Once proper technique is confirmed, the same method can be trusted for future work. Confidence comes from understanding how the filler behaves, not from surface appearance alone.
Final Thoughts on Mastering Torch Brazing
Torch brazing rewards patience and precision. It asks welders to rethink how heat and filler metal interact. Once that shift happens, the process becomes predictable and efficient. The torch becomes a tool for guiding heat rather than forcing it. Mastering these techniques does more than improve brazing results. It expands a welder’s skill set, allowing them to handle a wider range of materials and applications with confidence.
In the end, the difference between welding and brazing is not just technique. It is perspective.
Source: www.aws.org